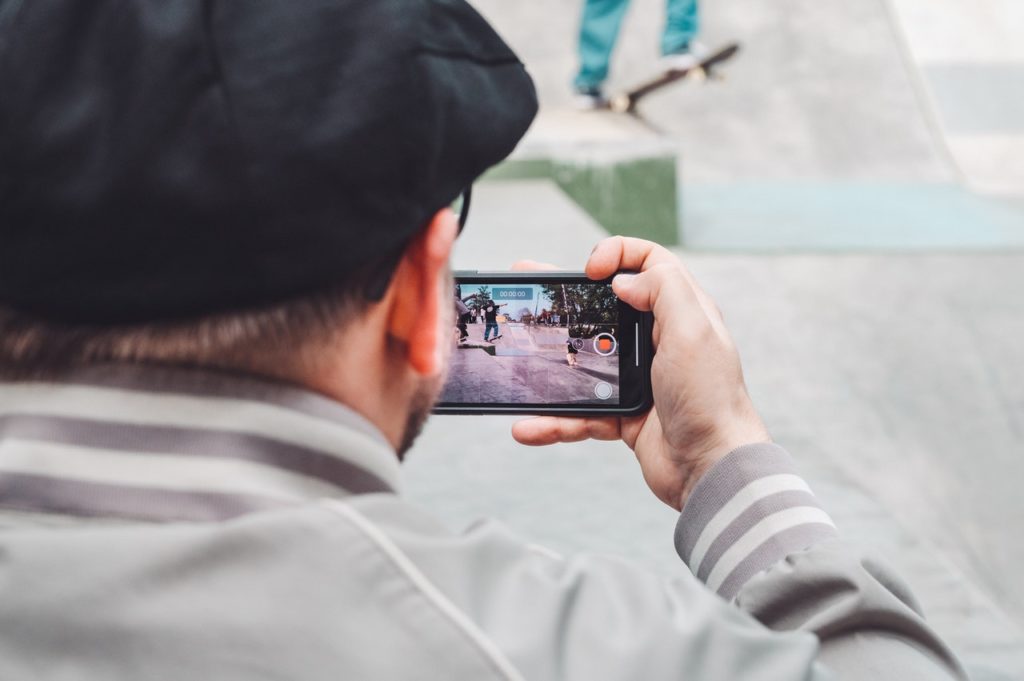
If you like taking videos and are proud of the results, they do not have to stay as a hobby anymore. Don’t leave your excellent clips of videos lying around in some hard drive or phone gallery you know you won’t be opening for the next century. Lucky for you, there are plenty of stock footage platforms willing to take your work. That way you can earn some extra money by shooting stock videos with your mobile phone. And before you do, I think these tips on how to earn money with stock video will smooth out your path to being a stock footage contributor.
This article is for those who don’t have any prior experience with stock footage. In this article, A to Z of stock video will be described such as the definition of stock footage, what’s popular in sales, the best camera setting for shooting, and how to upload. So, all you need to do is read out this ultimate guideline and actually act upon it. Now, get ready to start!
1. What is Stock Footage?
Stock footage is a short video resource that is available for commercial or editorial use in various fields and its running time is usually less than a minute. There must be a lot of reasons for using stock footage but mostly they’re used for saving cost and time in creating video projects such as commercials, films, anything in the form of video. Let’s say you need 2 seconds long of Eiffel Tower footage to make an advertisement but you’re not available to take that shot yourself. Then, it is the perfect moment to think about stock footage.
However, it doesn’t mean that any short videos can be labeled as stock footage. Each stock agency has its own acceptance criteria, but as long as you meet the standard below, it would be fine:
- Resolution: Full HD (1920X1080) at least
- Length: between 5 seconds to 2 minutes
- Shot: horizontal videography
Now, it’s time to think about the purpose of your footage. As previously mentioned, stock footage is used for two purposes; Commercial Use and Editorial Use. If the video is marked as Commercial Use, it means you can use the clip for business purposes with the intention of increasing profit and sales such as ads, brochures, blogs, films, or TV commercials. Why is this important to know? Because if you submit footage for Commercial Use containing a certain brand logo or a recognizable figure of persons with no release, it could cause violations of property/portrait rights. To avoid this issue,
- 1) Take a shot without a person or brand logo, or
- 2) Take a shot with a person or brand logo that you have already obtained their releases, or
- 3) Take a shot with a person or brand logo, and upload it for Editorial Use(in this case, however, the demand for your video could be lower than when it was for Commercial Use)
Unlike Commercial Use, editorial use can only be used in videos for news reports, news articles, documentaries, educational resources, anything but with non-profit characteristics. That’s why footage for editorial is easier to be accepted even without model/property releases. However, as mentioned earlier, demand for commercial use is way higher and various than Editorial Use and that’s why I recommend you to shoot for Commercial Use rather than Editorial Use.
2. Check out what’s best-selling

Before going out to shoot, you should know what you are going to shoot since there are already tons of various stock footage out there. So, if you want to make good sales, research must be done to save your time. Especially, if you’re a beginner who doesn’t have prior experience in shooting stock footage, you should definitely check out the following lists.
1) Use stock agencies’ filtering option
To boost your sales rate, you always have to think in the buyer’s shoes and think about what footage you would want to buy. Stock footage agencies offer various filtering options for their users. By using these options, buyers are available to get the best result they’re looking for.
However, this function is not only for buyers. You, as a contributor, can also benefit from it. Go to major microstock platforms such as Shutterstock, Pond5, iStock, and see what users have bought by selecting filter ‘popular’. While skimming through the most popular footage, you will note that there are certain patterns to footage that buyers prefer to buy. I recommend you analyze search results from at least three different agencies.
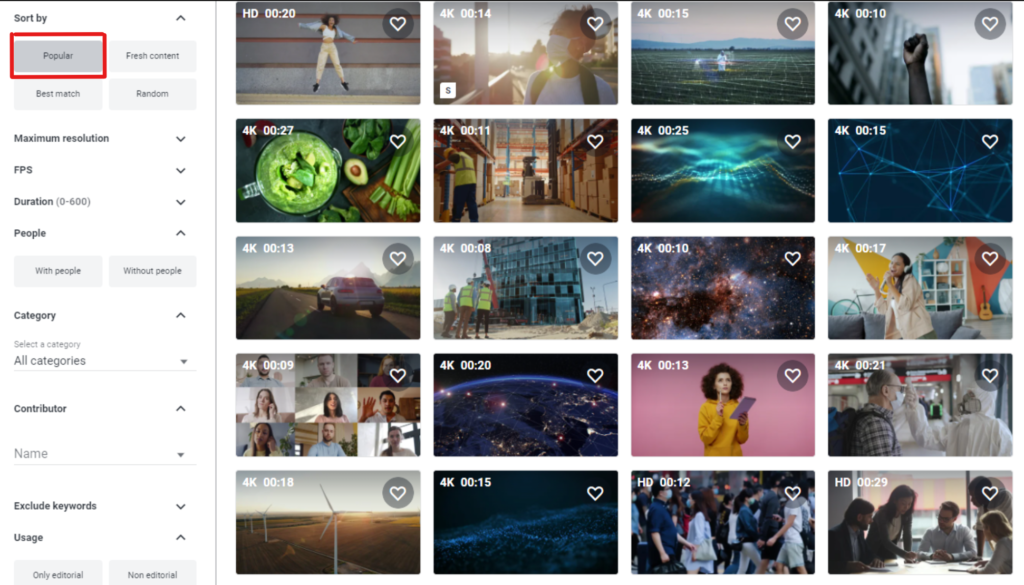
If you have made a decision on what footage you’re going to shoot, type its keyword in the search engine of any microstock platforms, and check out how other contributors have filmed it. Let’s say, you have searched for the keyword ‘typing on a laptop’. As soon as you hit the button, a bunch of ‘typing on a laptop’ footage would pop up. Then, rearrange them by the filter ‘popular’ and see what makes those footage so appealing to buyers. It could be camera angle, color grading, or the number of models. Get references from those features, and twist it as your own style. If it’s hard to start from scratch, this method will show you the guideline.
2) Use Google Trend
While there are steady sellers, there are always those shots that are popular during a certain time of the year. Footage about holidays, festivals, and events is always on the top of the list in particular months or days. It is crucial for you to see what is upcoming and to be a faster one to upload. Don’t be too fast, or your work will be out of sight.
If Christmas is coming, you have to at least start shooting in November and upload your footage right before December. If someone is to use your footage to make a video about Christmas, that someone would need the footage at least 2 weeks before Christmas. Always remember that your footage is used as a source for a longer production, not as itself.
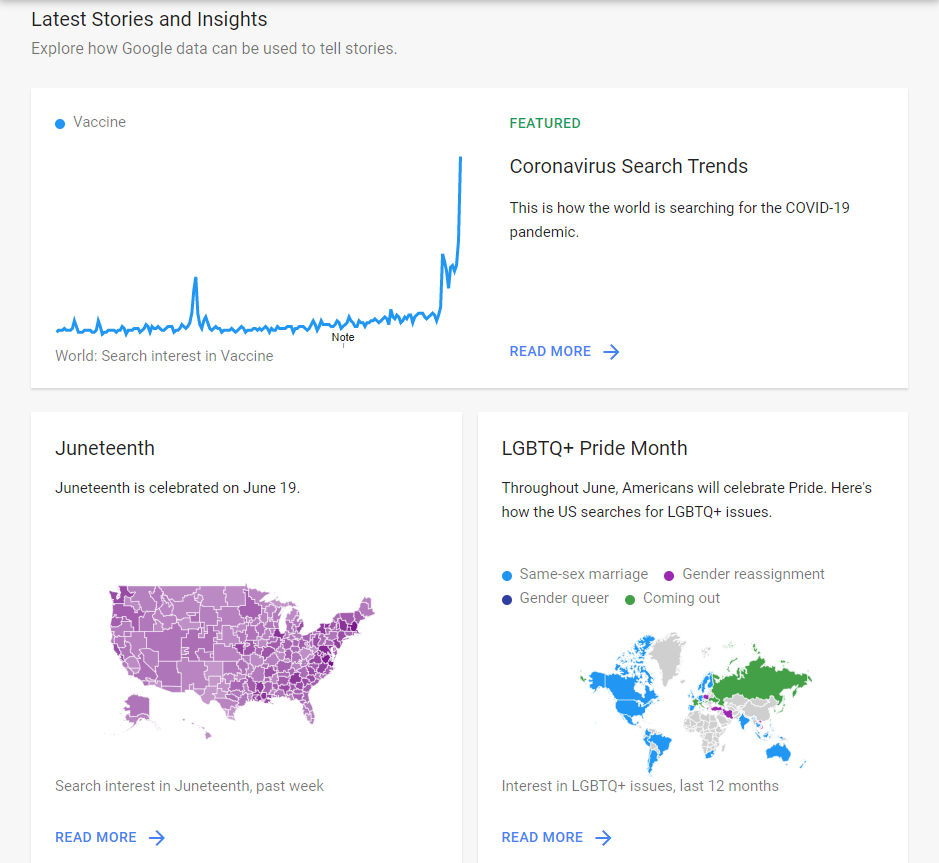
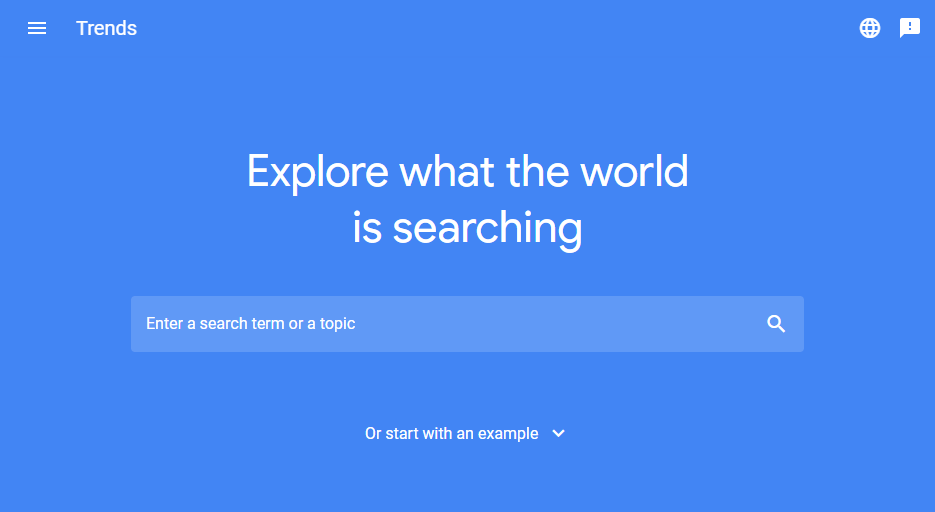
Unlike holidays, however, the world trend is always changing and popping up out of nowhere. This is why you must check out ‘Google Trends’. It is a free tool developed by Google that shows you what’s happening all over the world. Using this tool, you can discover popular topics you might have missed. Once you select the country, ‘Latest Stories and Insights’, ‘Recently trending’, and Year in Search’ will be shown up. Explore each topic by clicking, and see which keywords would be in demand as stock footage.
3. Go out to shoot
1) Camera Settings
Now, it’s time to go out for taking footage, if you have already done with your camera settings! The reason why stock footage can be taken by mobile phone is that recent mobile cameras offer enormously good resolution and stabilization than before. When you open the camera app, you would see the tiny numbers and letters in the upper right corner. That’s what we call ‘Resolution’ and ‘Frame per second’. These two settings are the most important and essential things to take high-quality stock video. Let me tell you more about them one by one.
Resolution
The resolution has an overall effect on the quality of videos. Video resolution is measured as width by height using tiny squares of pixels as units. Simply say, a higher resolution has more pixels, more pixels make a higher quality of the video. The most frequently used resolution is Full HD(1920 x 1080) and most mobile cameras today support from HD(720 x 480) to 4K(3840 x 2160).
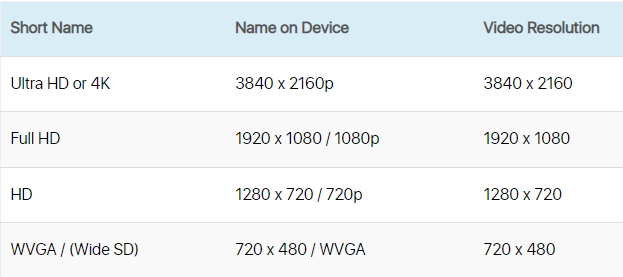
Then what is the best resolution for mobile videography? I would say, the higher, the better – as long as your storage allows. It’s always possible to lower the quality of video whereas the opposite is almost impossible. So, I highly recommend you to adjust the resolution as highest as your camera offers.
The way to change the setting of resolution is simple:
- On the Settings app: Open Setting app > Tap Camera > Tap Record video > Select option you want
- On the Camera app: Open Camera app > Tap the option on the upper left corner
Frame per second(FPS)
Videos consist of a sequence of frames known as images. Simply think about flipbooks. When you flip through the pages quickly, the images inside create moving pictures, and this is exactly how the video is working. Return to the FPS, it literally means how many frames are shown in one second. Check out the videos below, and see the difference between each FPS.
Now, let me tell you common FTS settings depending on the purpose of the video.
- 24fps – This is most commonly used for movies and TV shows, and it’s considered the minimum FPS to feature your video realistic and natural.
- 30fps – Just like 24fps, 30fps is also widely used, and it’s highly recommended for videos with a lot of emotions such as sports.
- 60fps – If you’re planning to create a slow-motion video or record video game footage, you definitely should adjust FPS higher than 30fps. The higher fps you set, the smoother footage you have.
2) Experiment with multiple angles
Even if you have a plan for shooting already, the reality is always different from what you have imagined. Then just repeat the same recording from multiple angles. This is the most effective way to maximize the number of clips from one spot while saving your time. Then you can get interesting footage even from ordinary trees and flowers.
3) Use Gears
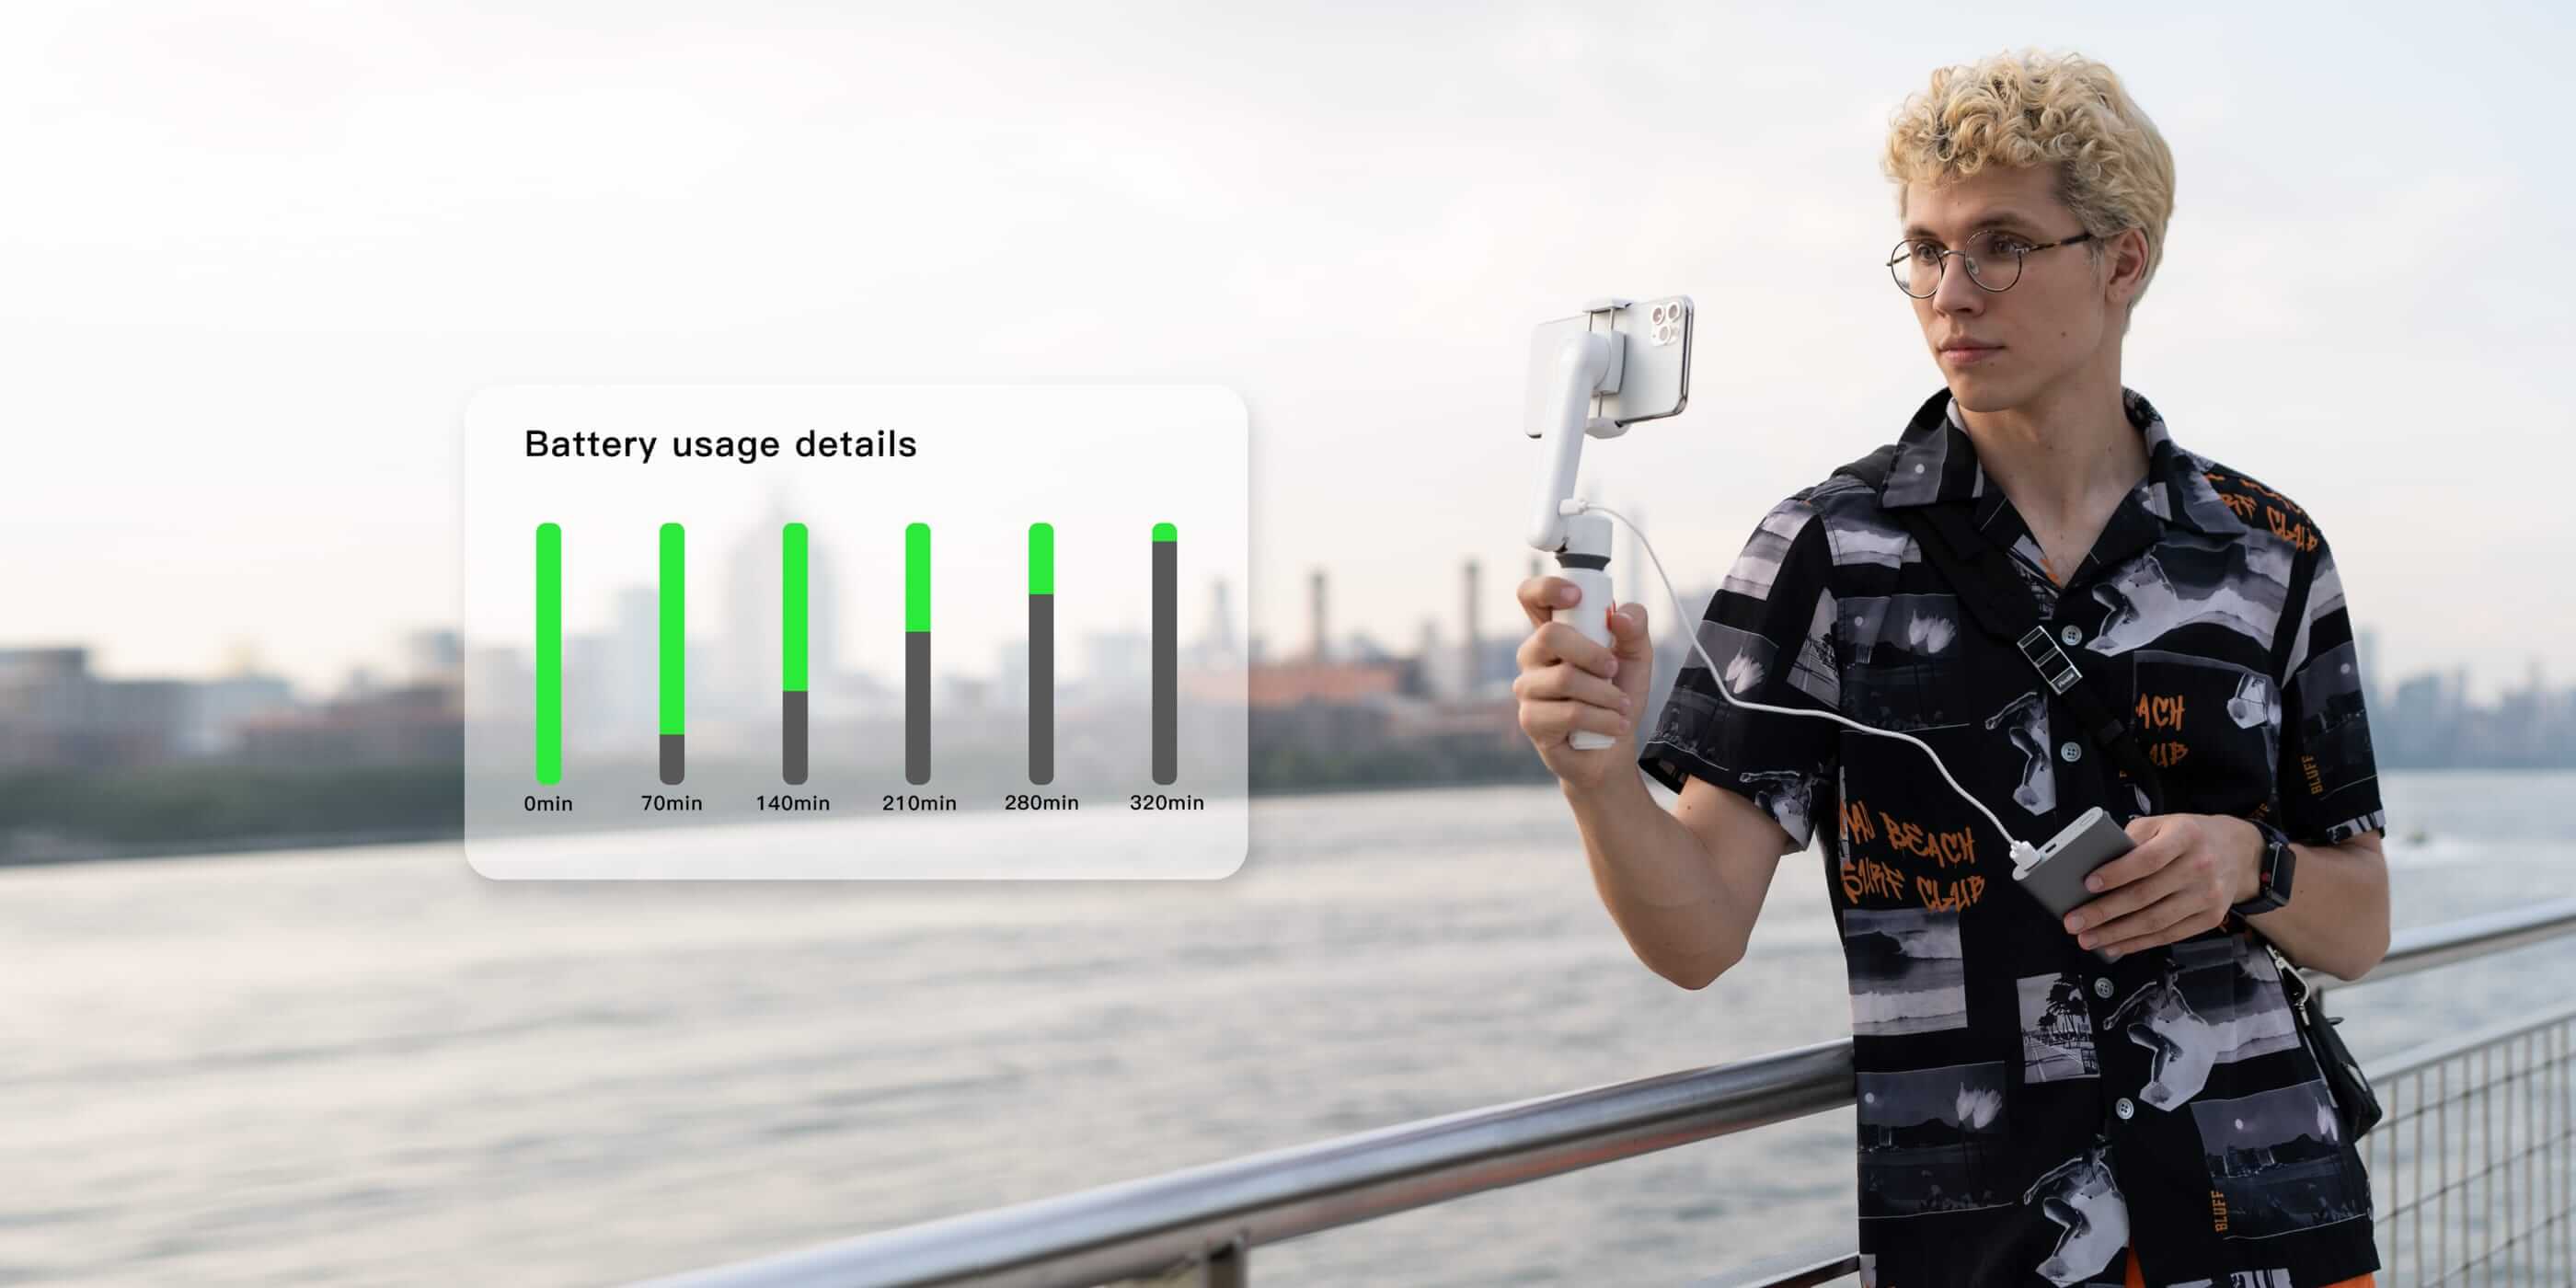
The quality of smartphone cameras nowadays has incredibly increased to the point that you can use them instead of real cameras. However, when it comes to camera movement, it turns into a different story. Once shooting footage with your phone, you will realize how hard it is to get a stable shot. That’s why a lot of people are using gimbal and tripod. It will immediately boost the quality of your footage by stabilizing your video. In case, if you’re not ready to buy new gear, check out this article and see how to make alternatives to gimbal/tripod using stuff around you.
4. Start uploading
1) Stock Footage Platforms
If you have taken stock footage, it’s time to upload it to as many stock agencies as possible. Before starting distribution, you should carefully read through their terms and policy first since each platform implies all different royalty rates and commission standards. The minimum amount for the payout and payout cycle is also on the checklist. To get more information, check out this article that describes the best stock footage platforms and their royalty rates.
2) Tips for uploading
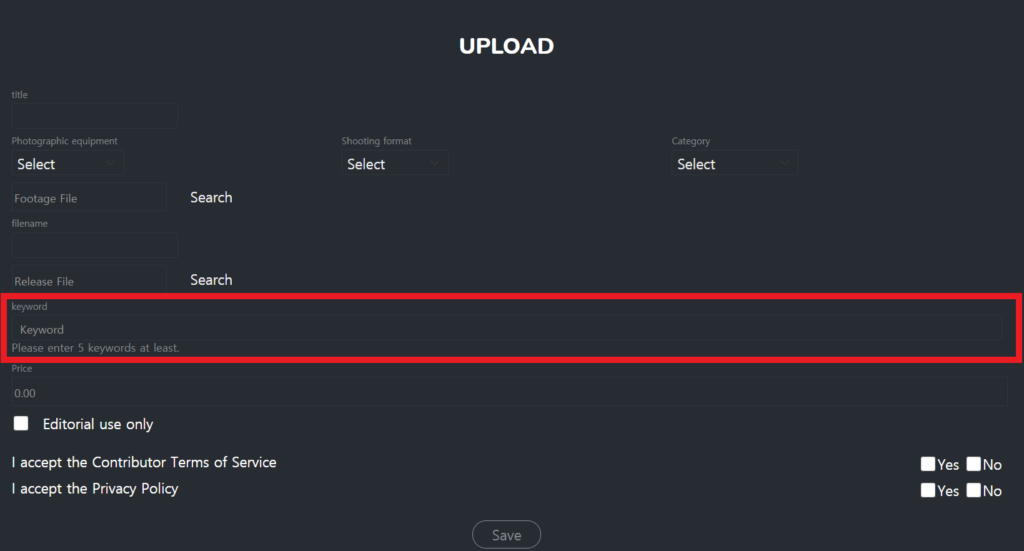
To boost your sales, the most important thing is the title and keywords. Depending on what keywords you entered, more users will approach your footage from the search result. I highly recommend you to provide keywords and titles as precisely and detailed as possible. Especially the regions, emotions, and moods that are hard to be captured by auto-tagging service must be included. By analyzing your videos using object recognition, some platforms such as Shutterstock and PlayStock offer more keywords than you actually put in. There are limits, however, that it extracts the keywords which are recognizable only. That’s why I mentioned regions, emotions, and moods earlier. Adding keywords to each and every stock video could be tedious and time-consuming but always remember that it will skyrocket your sales.
Now, get your camera and start filming something that others would willingly buy. Not too much pressure, because hobbies can no longer be hobbies if you’re not having fun. Think of it as an opportunity to share your affectionate work with people and get paid. Hope you have fun and make extra money with stock footage!
Read more related articles here!
- ULTIMATE Comparison: Contributor Earnings in Stock Video Platforms
- How to Shoot Professional Videos with an iPhone
